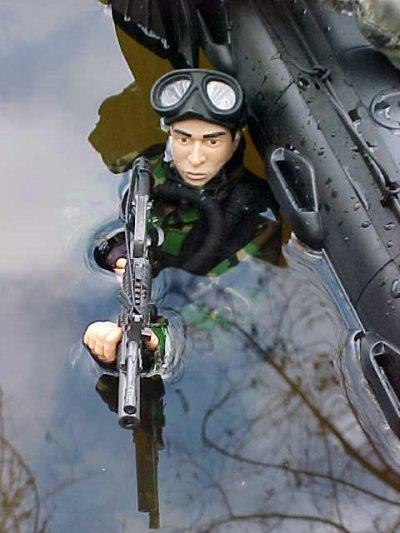
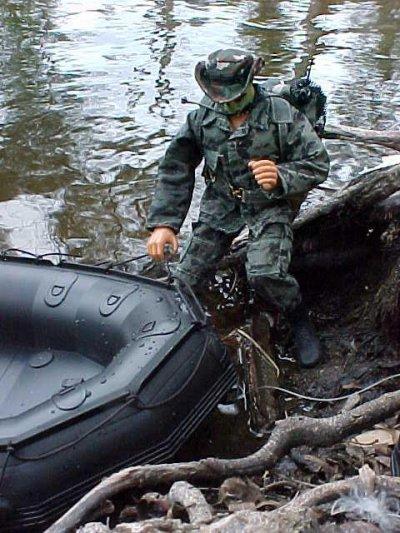
THE FOG OF WAR, PART 2
By: One Shot
CLICK HERE FOR NEXT PAGE
Back to the Photos