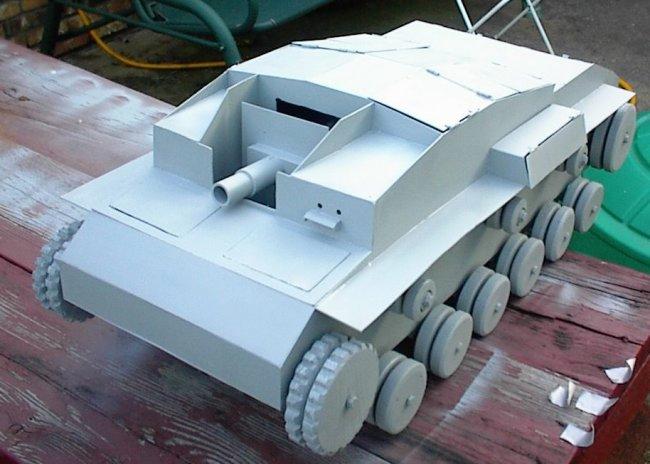
I tried to model my project after the Stug III C/D version. Reference material
was from the "STURMGESCHUTZ III in Action" book by Squadron/signal publications
(page 14).
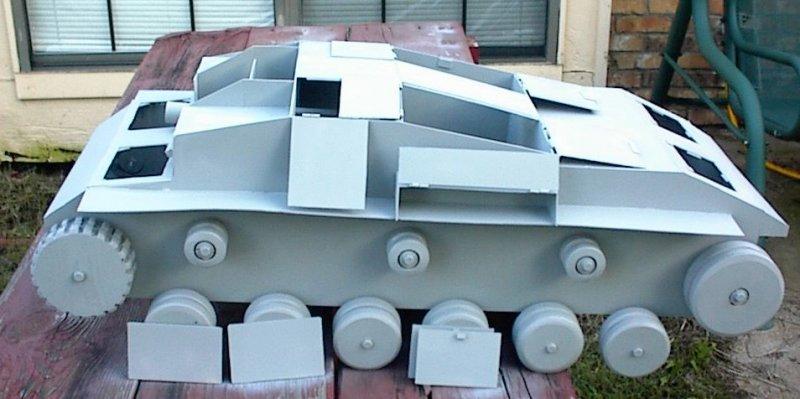
- The wheels are all made from wood. I machined an axle/spacer for the
front drive, idler, and rear wheels. These axel/spacers allowed me to bolt
the wheels on without actually binding down on the wood. The bolt runs
through the machined axle.
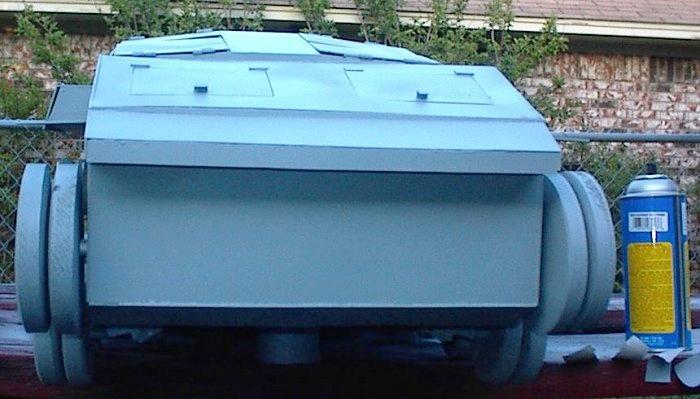
- The road wheels were attached to the tank using some kind of plastic
window device that I had found at Home Depot.. you can see them in the
bottonview shot. I drilled and tapped the plastic so that I could use
1/4" bolt as the axle. The spacer is just some cut rubber hose.
- The rest of the tank is made out of high impact styrene sheeting. It
took a 4'x4' section to make the complete tank.
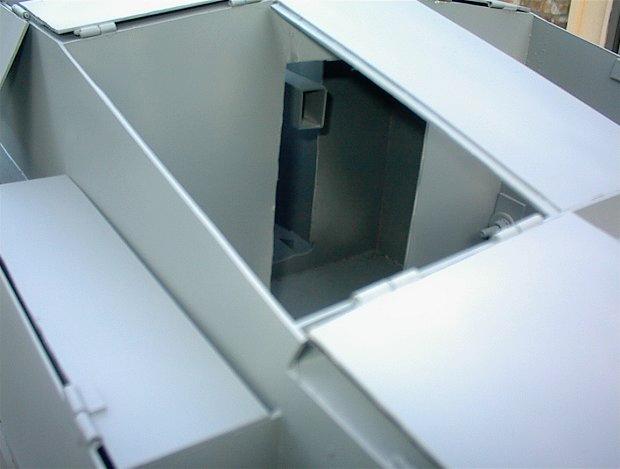
- On the top hatches I made the hinges out of strene tubing and rod.
- The cannon is removable and can tilt. I messed up on the length of the
gun. The barrel is made out of PVC pipe. It is hard to see in the pictures, but there are brackets to hold the gun in place when it is installed. It just snaps in and out.
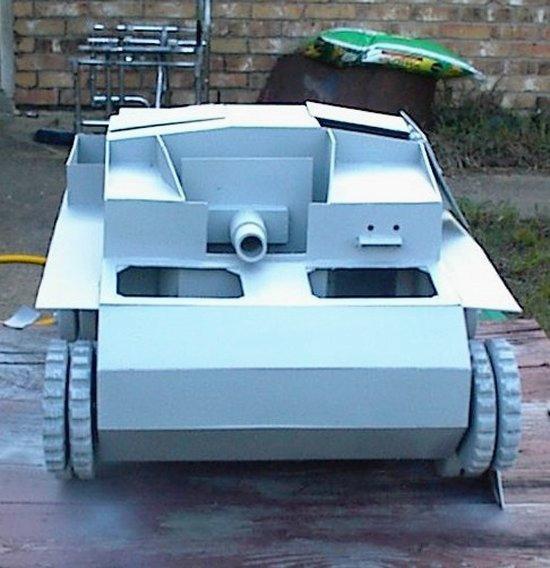
- The front and engine hatches do not have hinges. I figured my son
would be storing stuff in the tank and the hinges would hinder playability.
- I could not get a good picture of the driver compartment, but it has a
seat,
- The tracks were made from strips of rubber matting found at Home
Depot. To keep the tracks on the wheels, I cut small pieces of the
rubber and super glued them to the inside middle of the tracks, so they would run in
the groove of the wheels.
- There are a few items missing, emblems, mud flaps, storage racks, and
some more inside details. But for a 6 year old to play with I think it is
ok.
How long did it take to make, you may ask. The total time span was
about 3 months, but actual work time was about 2-3 weeks. Attaching the
road wheels was a tough problem to solve, since I did not want to just
drill holes in the side of the tank.. I wanted the ground clearance,
like on the real tank..
I also included 2 shots of the AJ CY girl in a homemade Navy Uniform.
Also notice the feet. I modeled a set of feet and casted them in resin.
The foot wear is from the KEN shoe collection.
**TIP** If you cast resin feet you might want to cast a finishing nail
in the foot at the ball end. Otherwise the ball will twist off after
twisting the foot many times. **END TIP**
Hope you like it.----Ilaf
|