By: Ilaf
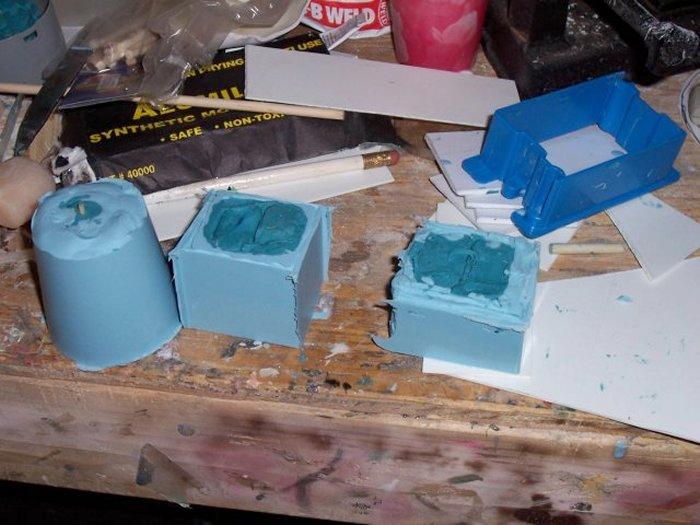
| Ok we waited over night for the silicon to set. The kind I have sets in 6hrs, just give it plenty of time. Here we have all the molds out of their plastic forms. Looks good so far.... |
| Just showing the other side of the mold... notice the little indention on the cup mold. That is the front of the head. We do not want to cut on that side of the mold. |
|
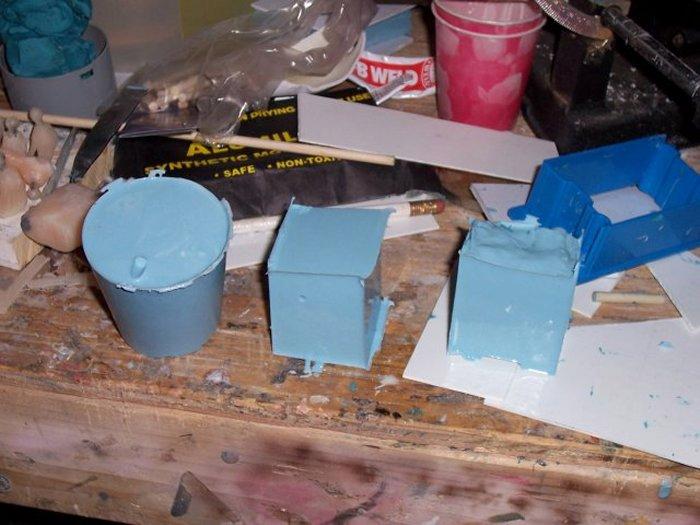
OK... refer back to the first picture... you do not see these semi-circle cutouts. We did not lay these up in clay.. So what is going on, you ask? Well this was a MISTAKE on laying out the clay. I should have built up clay to one wall before pouring the first half of the mold... Without this cutout it became hard to get the clay out cleanly. So if you make a mold and see things are not right, do not throw it away too fast... see if you can cut it to become what you need. In this case it was just a pretty simple cut with the exacto knife.
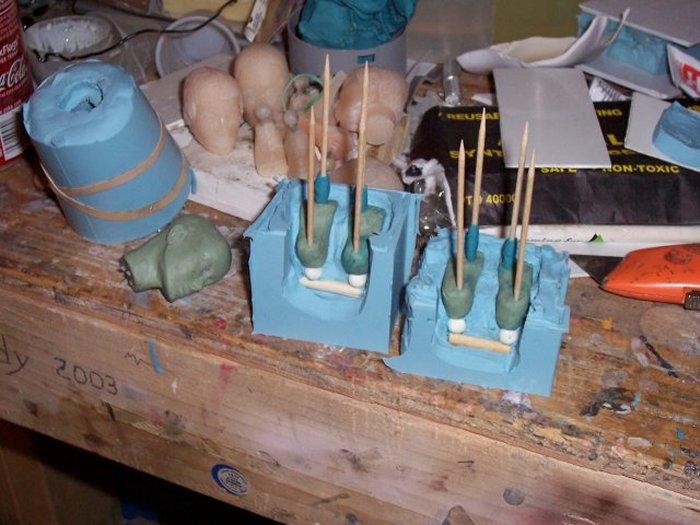
Now you can see the whole foot and the wooden dowel. What you do not want to do here is mess around and pull your original part from the silicon... I DID on all 4 feet... The reason this is a bad thing, is that the next pour of silicon can get under your part and stick... We will cover this later. |
|
Ok, does not look like much here... but a lot has happened. First, since I knocked all the feet out, I applied the grease to the whole mold area that will get new silicon.. I even put grease inside where the feet went. This does 2 things, first it prevents any silicon that leaks around the part from sticking... second it allow placing the original part back in the mold and having it stay in place.
Also you see the toothpicks... On each mold you see that 2 have clay on them. These will be the pour holes, the other2 will be air vent holes. We will have to wait and see if this is correct. For now it looks good to me.
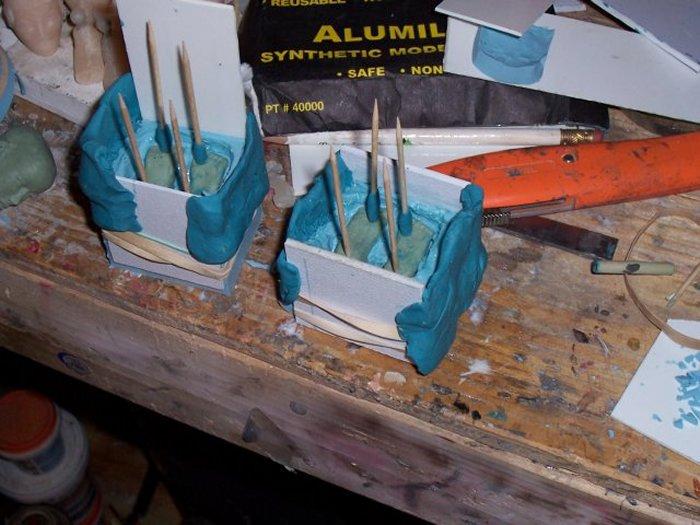
Also You see I put pieces of plastic and clay around the mold.. the reason I did this was to allow a little more thickness on this second mold half... Make sure to grease the top of the mold and anywhere it looks like the new silicon will flow to. You can not cover too much... I used a Q-TIP and put the grease on the mold... any thick areas of grease need to be spread out thin. You do not want globs of grease, just a good thin coating on everything. |
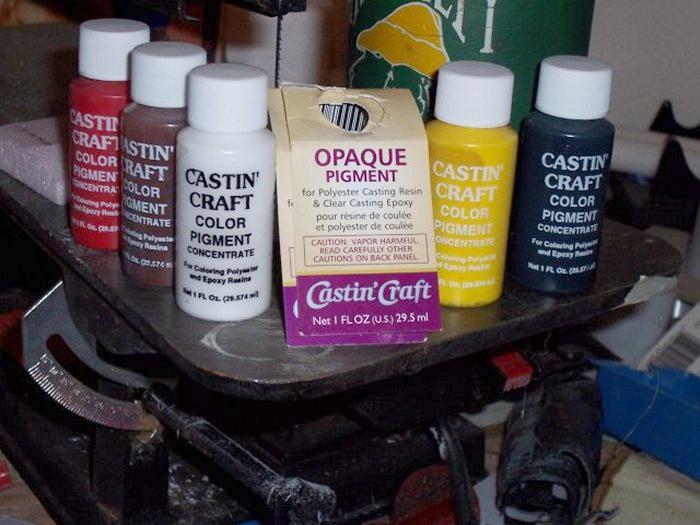
| Basically I mixed the silicon and poured it into the molds. This picture is showing the colors that you can get to add to the colorfast resin. We are going to pour the head, since the mold is ready. |
|
Sorry about the picture quality... all I am showing is the amount of color I will add to the B side of the resin. It is about 1 or 2 drops per ounce... THIS is important. Remember the red stuff stuck to the Durham mold... the resin will not set correctly if too much is added.
If you are using resin that turns white, then you do not have to worry about this step. To be honest, I like the white resin better. It is more predictable to know how it will act. |
CLICK HERE FOR NEXT PAGE

Back to the Tips