By: BC Ries
| Glue on one more piece of webbing as shown. Put the ends on the side so they will be covered by the side straps. |
| Bend some small oval rings just large enough so that two thicknesses of you webbing will pass through. Two per canteen. |
| Fold the end over and glue it down, keep the glue away from the ring so it can move freely. I prefer this brand of glue. Glue the side straps both long and short to the side of the canteen where they overlap the straps that go around the canteen. |
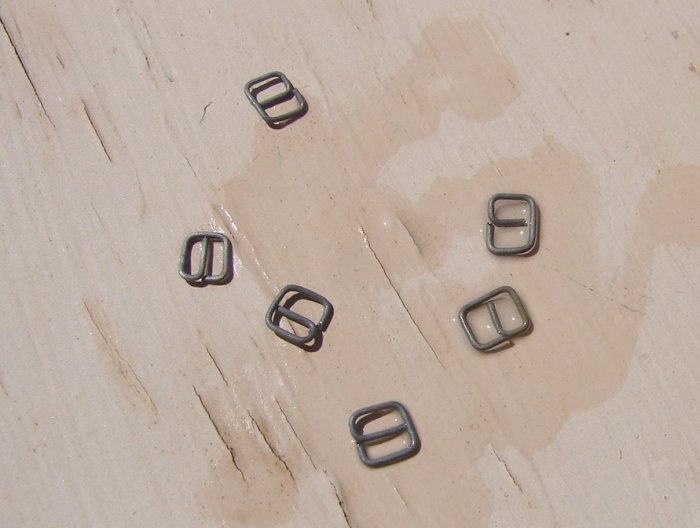
| Bend some 3 bar buckles. If you prefer Rio Rondo sells 3/32" buckles which I use sometimes. Today I don't feel like waiting for an order to arrive. |
| Thread the long side strap through the three bar buckle as shown and through the loose oval ring then through the oval ring on the short side strap. |
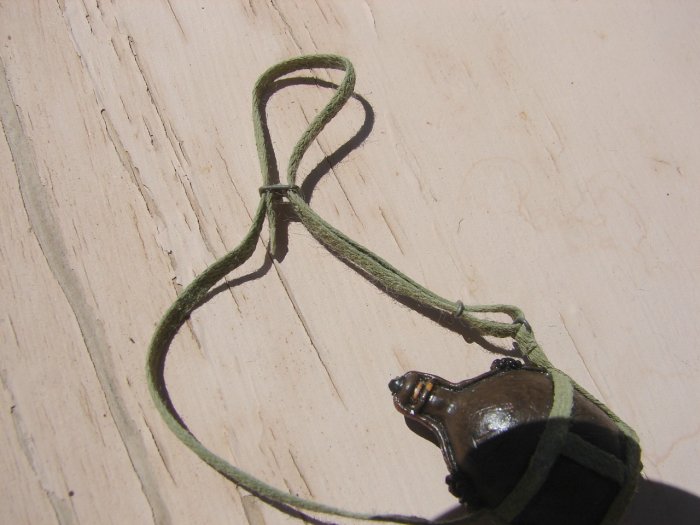
| Continue to thread the long strap through the loose oval ring and through the three bar buckle again then glue the strap to itself after it passed through the buckle. Be careful to keep the glue away from the buckle so that it will move freely. If you do it right the strap will be adjustable. |

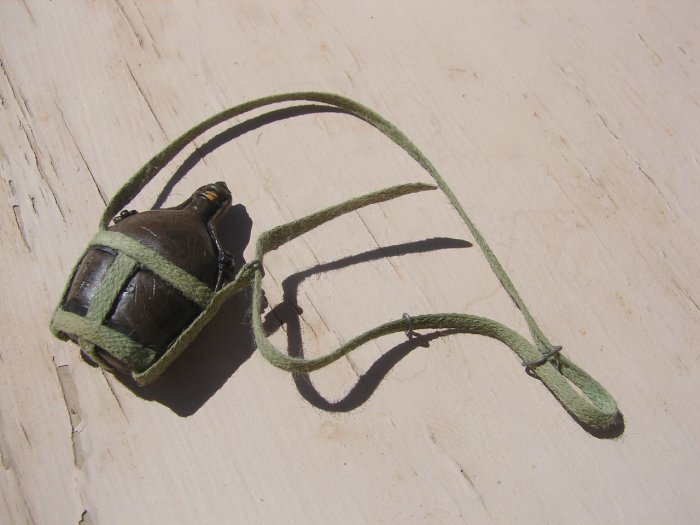
| Finished canteen. Depending on the accuracy of your cuts and the original paint job you may or may not need to touch up the paint a bit. These look alot better on a figure than canteens with molded on webbing. (BTW: This canteen is only appropriate for Japanese Army troops, the Japanese Naval troops had a different style of canteen. Alot of Japanese equipment was also used by Communist forces early in the Vietnam war.) |

Back to the Tips