By: Rich
| Finally getting close to finishing my Falklands era Brit Para, Graham. Been struggling over the years as to how I wanted to finish him and decided to go with the Mike Chappell color plate pictured below. |
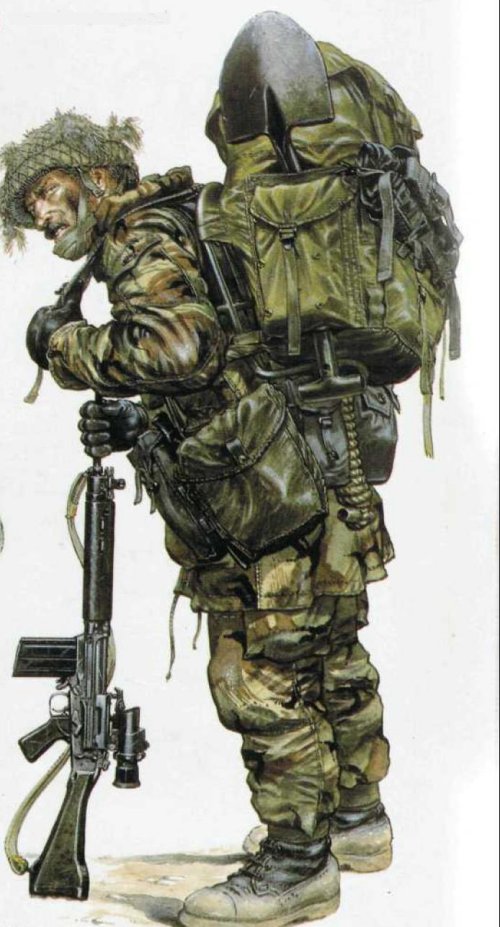
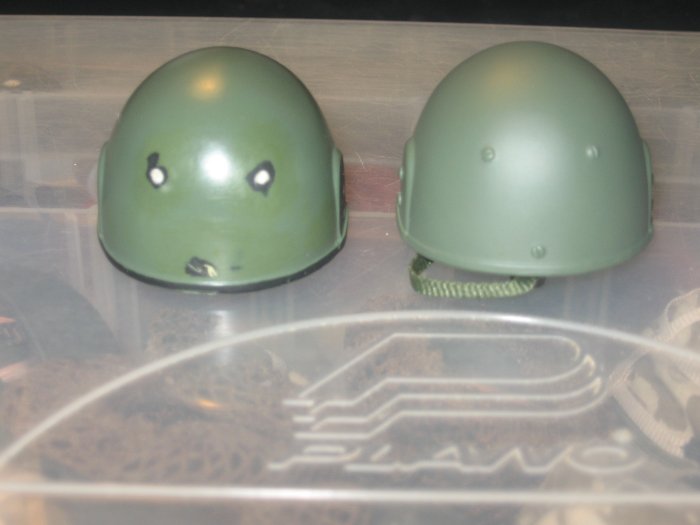
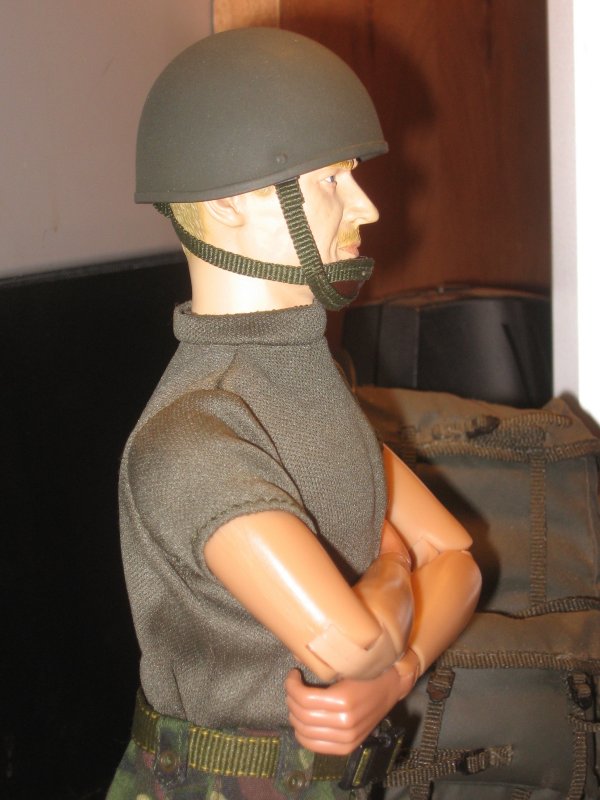
| While picking out the details in this color plate the helmet caught my eye. It has an upward contour of the edge lip from the ear area forward. The kit came with the WWII MkII para helmet, which was still reportedly used during this era. Still, it didn't match the illustration. While researching this I ran into a rather funny rant at another forum where the observer had a melt down about the wrong helmet that came with this figure as well as some other complaints. The thought of the wrong helmet made me do more research. I finally found the first of a very few pics of this plastic or fibre helmet described as the Para/SAS light weight helmet. |
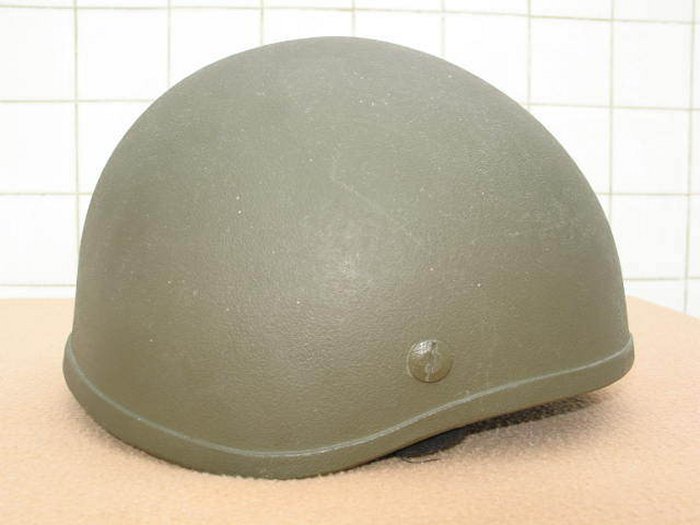
| I learned years ago while building mostly 1:35th scale military miniatures that if they made them 100% accurate we could never afford them. So, we take on the challenge of bashing, modifying, and even scratch building items to make our figures look more accurate. I can't take the credit for this idea since I found one OSW member's "how to" for converting the Brit Mk6 helmet to the earlier para helmet. I started with his basic idea then developed my own version from there. Start with the basic Mk6 that my soon to be Falklands Commando is holding. |
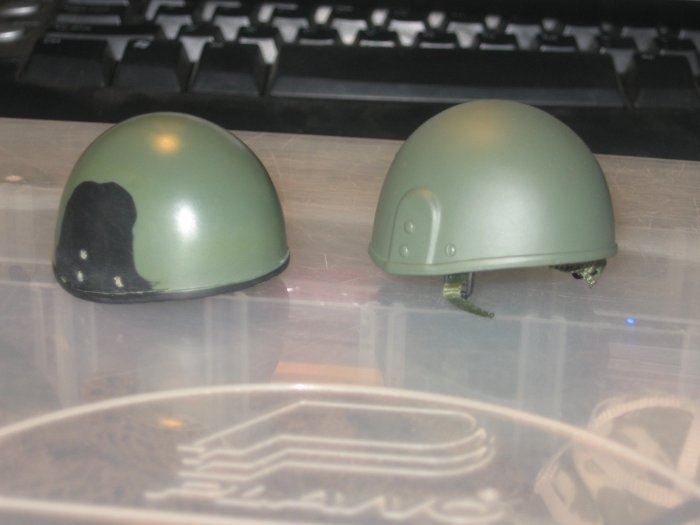
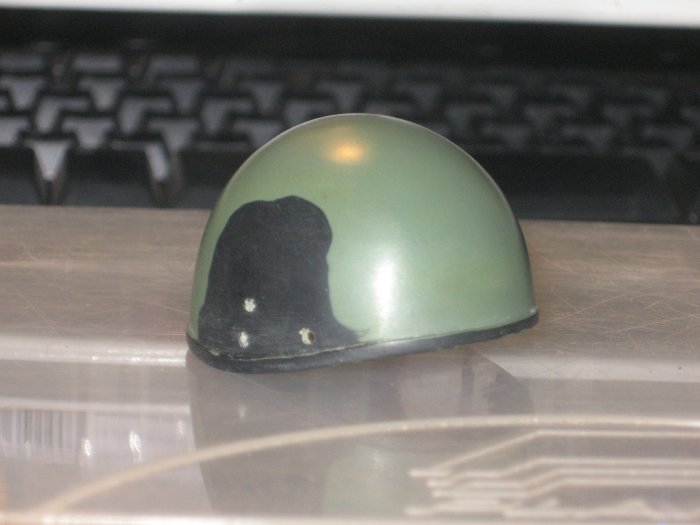
| The screw and rivet heads can be popped out and saved for future use. Three of the screw heads will be needed to finish the helmet. I filled the holes with modelers putty except for the three located to hold the chin strap mounting points. Since the "ear" sections of the helmet would be sanded down to near paper thin I filled the space behind them with sheet plastic cut to fit. |
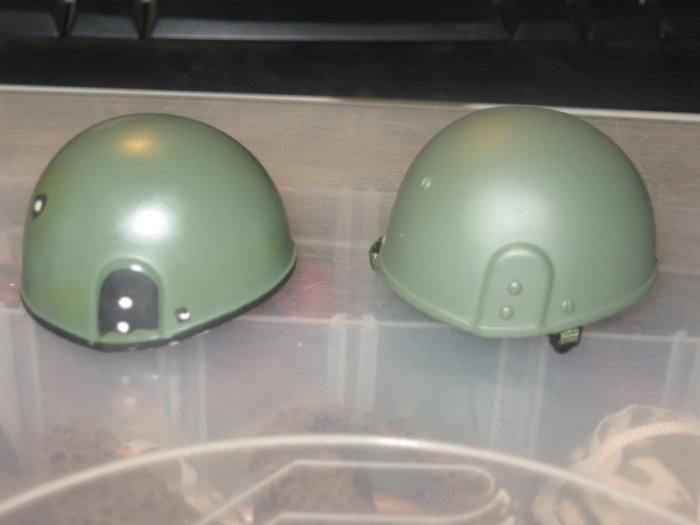
| The bulk of these "ears" were removed with a Dremel then the lower lip edge was shaped with emory boards and Swiss files. A final wet sanding was done with progressively finer sheets of Testors Sanding Film. |
| Before painting the 3 screw heads were glued back in their remaining locations. Krylon's Ultra Flat Camouflage OD was warmed with hot tap water for at least one minute. This really helps the paint to flow smoothly. A couple of light coats were shot inside and out then allowed to dry. The helmet was then placed onto a piece of duct tape attached face up on a section of cardboard for the final painting technique. The paint was reheated again with tap water. Holding the cardboard with one hand, I shot the helmet with the can held about two feet distant to allow the paint to partially dry in the air. This was done directly above so the paint would "fall" onto the helmet and give the textured appearance similar to that of the real thing. |
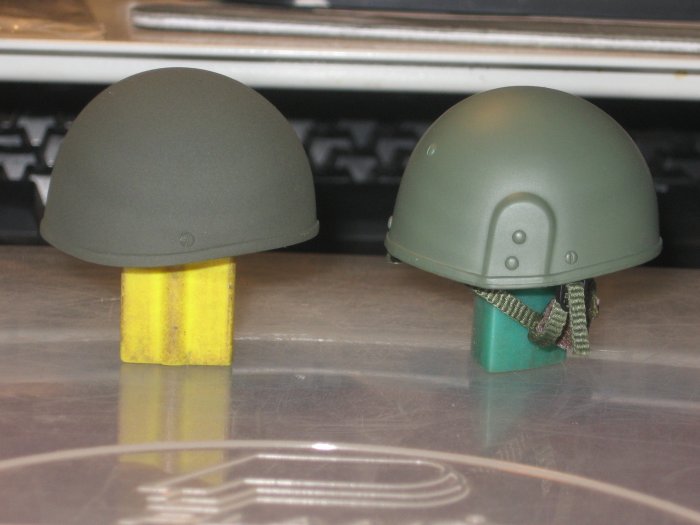

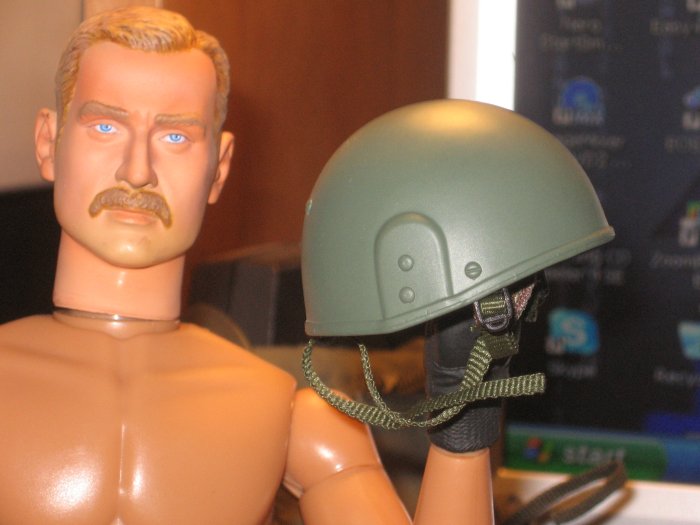
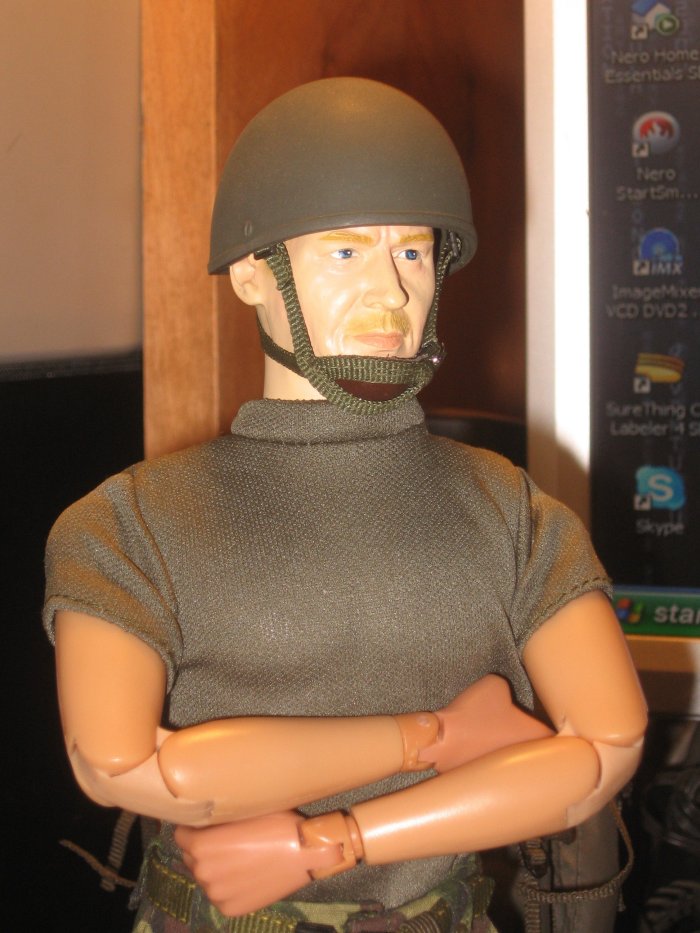
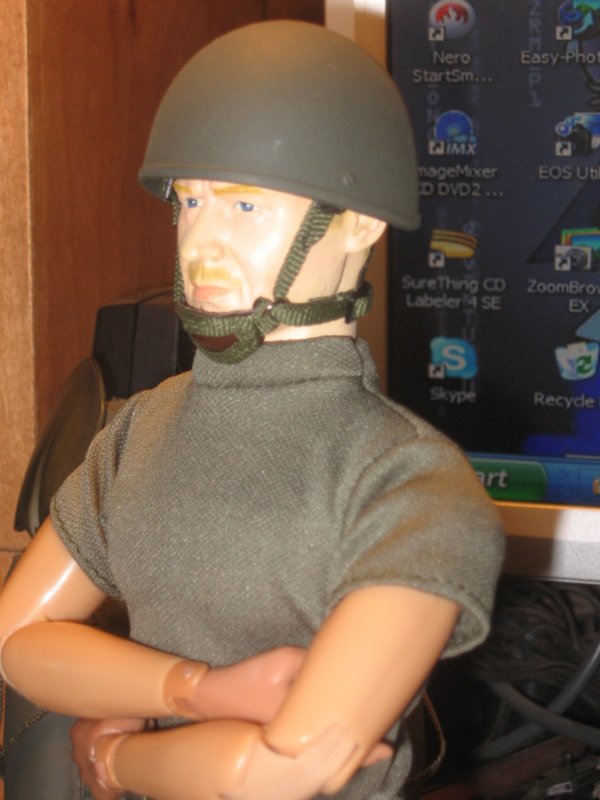
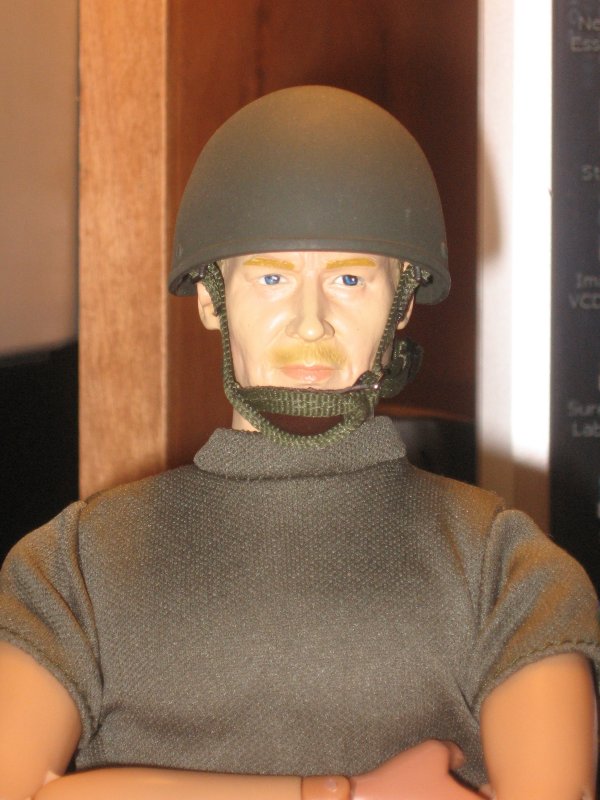
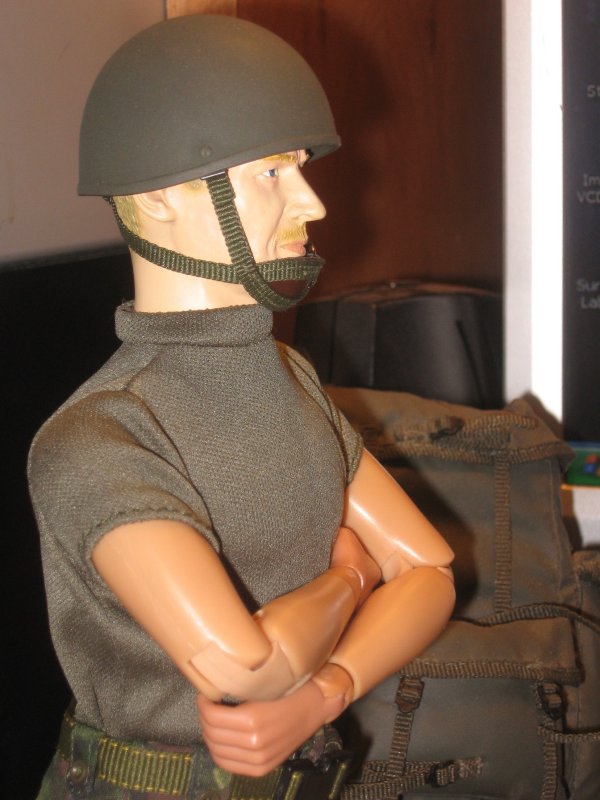
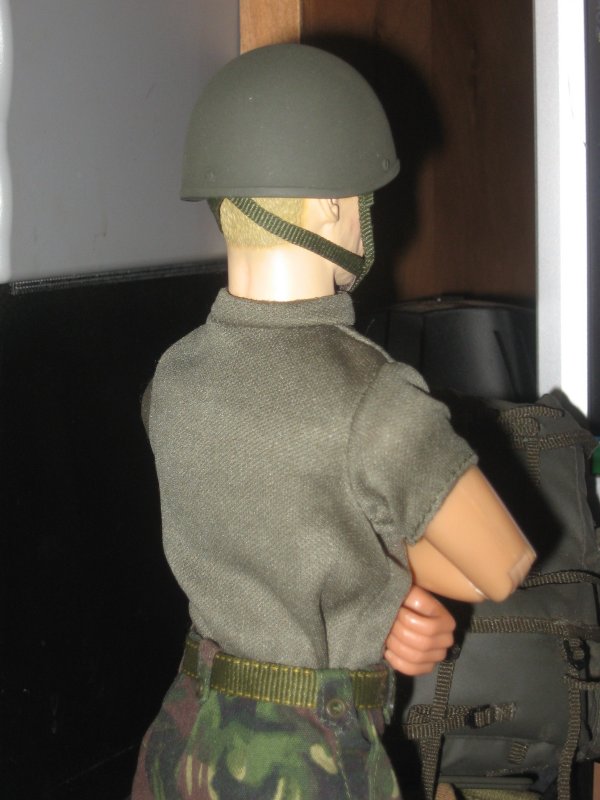
| The rubbery chin strap mounts were a bit too thick for what I needed to do next. I swapped these for a thinner set of styrene mounts from another WWII para helmet. Since these would be mounted upward and out of sight within the helmet I had to stand them off from the helmet surface by cutting out plastic blocks and gluing them in. I used the Mk6 liner with a little cut out in the back to go around the strap mounting point, and it fits rather well. The pics below shows the near finished product on my Graham figure. Altogether this was really a simple conversion taking only part of one evening followed by the time to shoot on a few quick coats of paint. Believe me, the drying time took longer. |
| Cool work on this one Rich. Special thanks for sending this terrific tip in and sharing it with us. Sharp Salute! - GL |
Back to the Tips