OHIO CHAPTER OF THE SS-CC
By: Rich
|
This is my interpretation of using the printables available at The Cincinnati, Ohio Chapter of the SS-CC developed by Point Man. Point Man has made posts with a link here at GL's when he has come up with a new set, so check them out at http://ssccohio.weebly.com/ . Well worth the effort and the price couldn't be better.
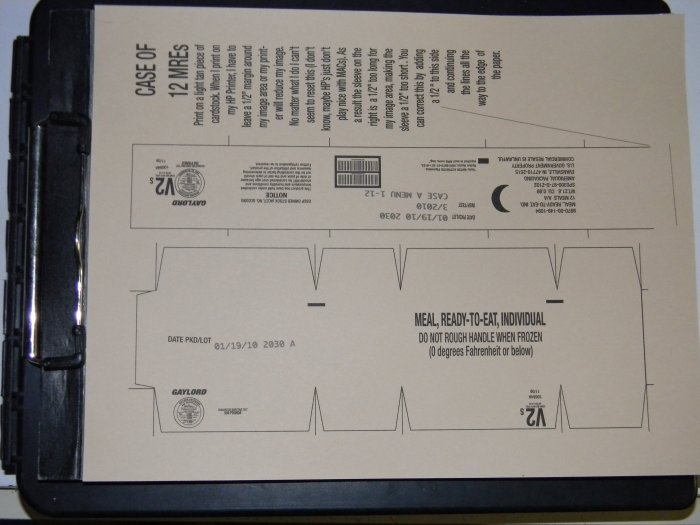
First is the MRE box which is a sweet looking piece of 1:6th scale equipment. It goes together easily but I noticed a couple of quirks that are easily solved during construction.
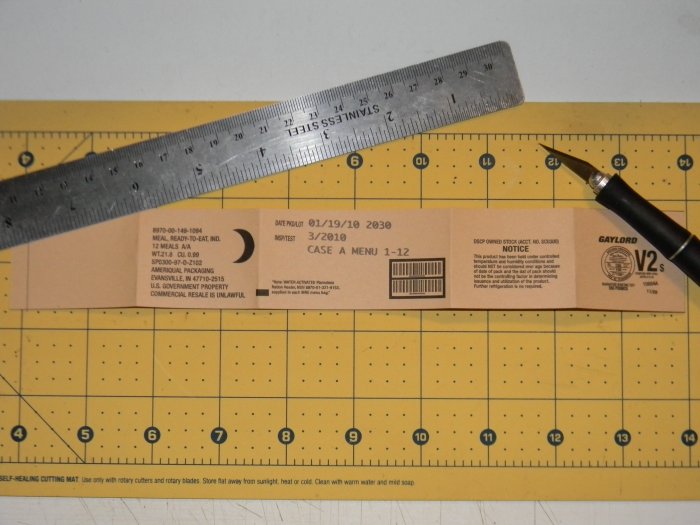
The box and it's instructions take one sheet of card stock as seen here. Point Man, I hope my snap shots do your work justice. |
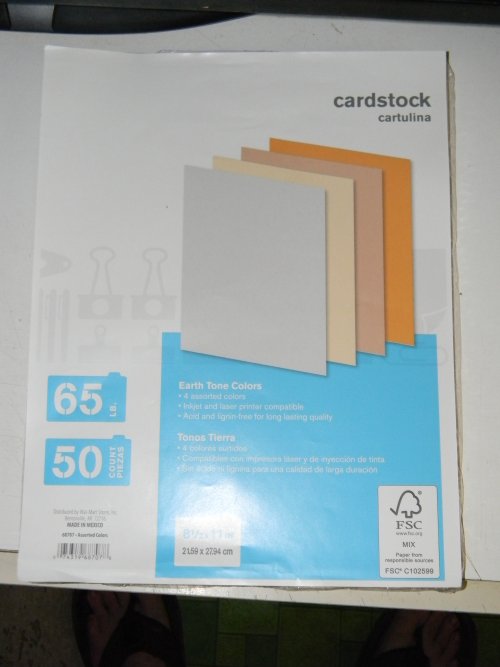
| WalMart carries a brand of card stock with 65 sheets of four colors for approximately $3,95. I finally opted for the latter. |
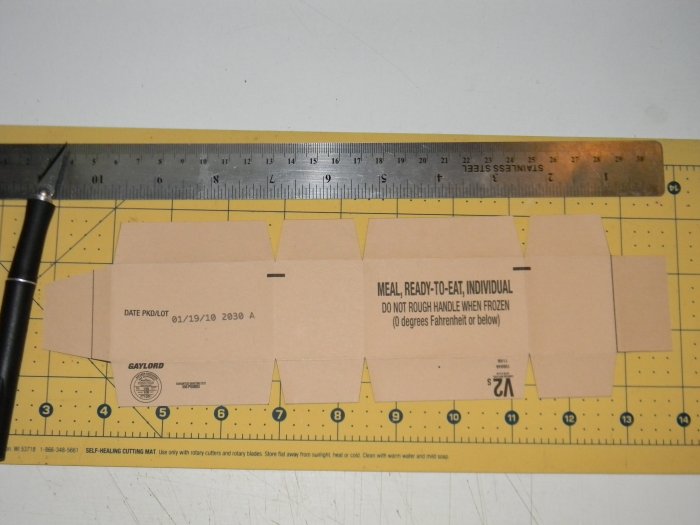
| I trimmed the box to this point leaving the triangle cut outs because of the fold lines. Notice that some are not in the middle of the triangles. I lined these up on the edge of my cutting mat which hung over the edge of the desk. With the ruler on top of the card stock and even with the edge of the mat I pressed down with my thumbs for an even fold line. |

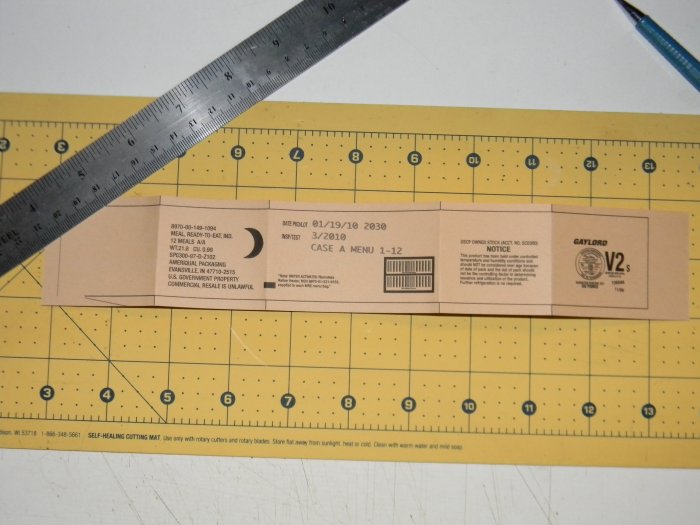
| The cardboard wrap for the box was cut out the same way leaving the fold lines available. On the first wrap I folded all of the lines. Apparently because of the way I cut out the box removing the black lines I must have made a slightly smaller box. The wrap really fit loosely. The two following attempts I made only one fold to the right of the of the bar codes. Then gently wrapped the box with that fold on one corner working in the next fold individually, and making a sharper fold on the mat in the same manner as mentioned above. Then continued until finished. |
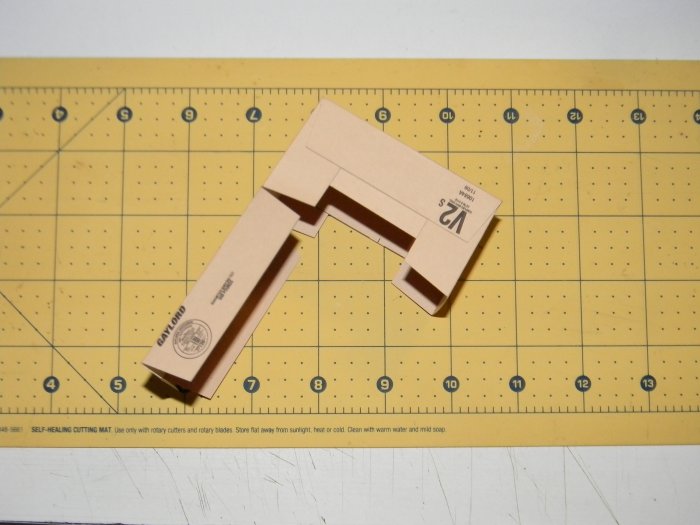
| The box is finally trimmed. Note the extended tab to the left. It must be trimmed down to the black line. I was just being cautious while experimenting with the first box. |
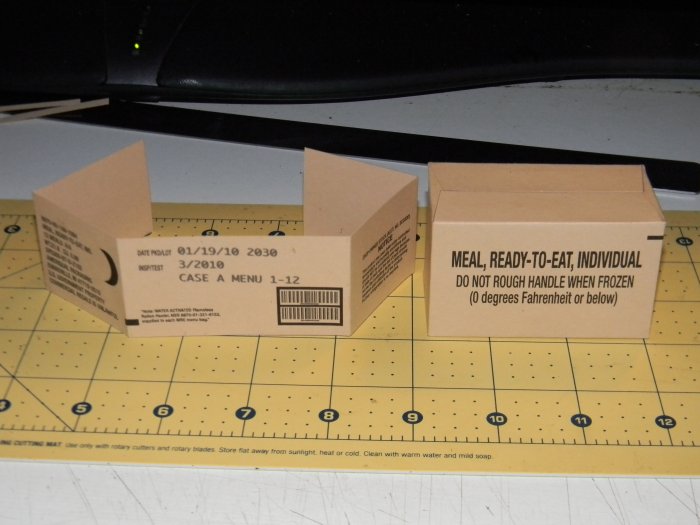
| Fold the box into it's shape. I used a stick glue that remained pliable for a bit more time so that I could shift the glued sections until I had the box squared. When I first folded the box together for fitting I noticed that I had a slight gap at the top and bottom box. I still maintain that this is due to my trimming. I glued in a scrap piece of card stock which there is plenty of when you make one of these, on the top and bottom. If you plan to leave the wraps in place just skip this. Since I made these for somebody else I filled the gap on all three. |
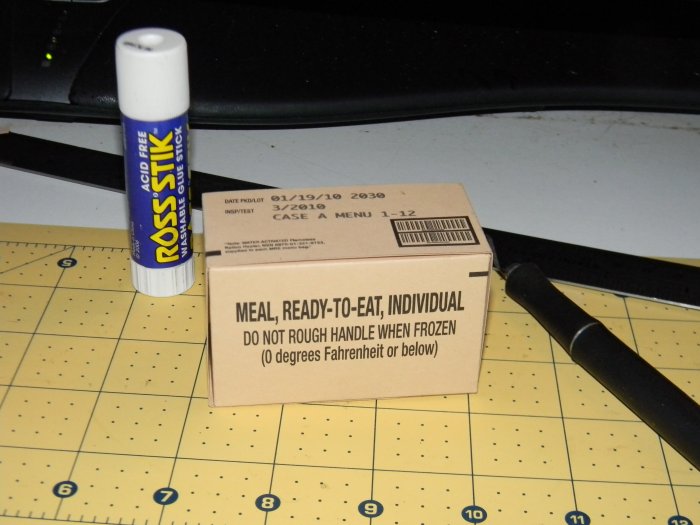
| Here are the first three boxes, two with the tighter wraps. They are still removable, just tight. The MRE bag is next. |

CLICK HERE FOR NEXT PAGE

Back to the Tips