By: Ilaf
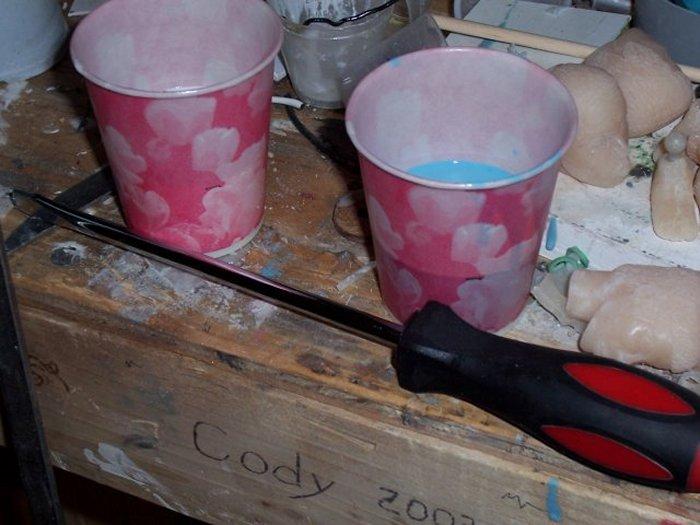
| Not a very exciting picture... just mixing equal parts of the silicon. Before you pour out the silicon, make sure you mix the material well. That is what the screwdriver is for. MAKE SURE to clean off any of the silicon material before using the screwdriver in the second bottle... MAKE SURE IT IS REAL CLEAN!!! Or use 2 different screwdrivers. I will pour the white material in with the blue, mix it real well and then pour back into the cup that had the white material... this way both cups have been used while mixing the silicon. |
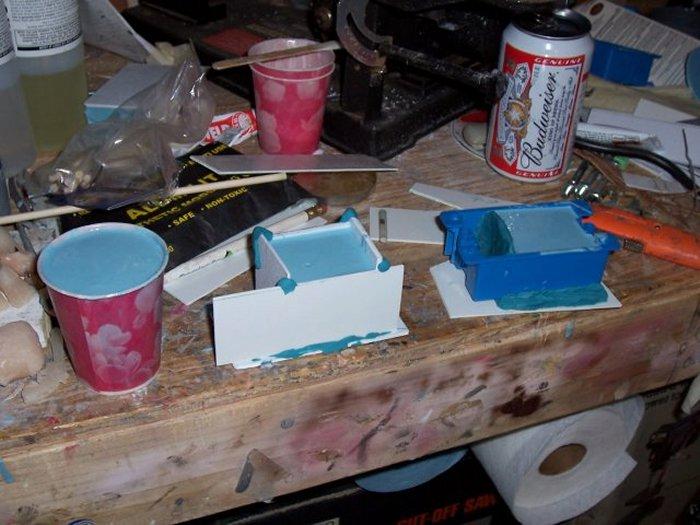
| Okay here we have all three molds... Note the middle mold. So folks might not have a WalMart near by to get the electrical boxes.. so just make one. I have a plastic base that the feet were on. I used 4 plastic strips and attached them to the base with clay... then attached each side with clay. MAKE SURE it seals!!!! This is the cheap way and can lead to one of the sides falling off at the wrong time... Try to avoid doing things this way... Again don't be like old ILAF... I am just showing that it can be done... and will produce a good mold. The cup and electrical box are safe ways! |
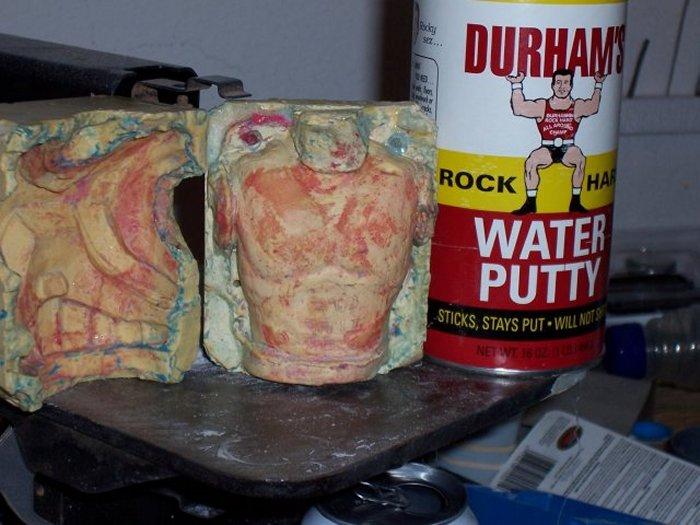
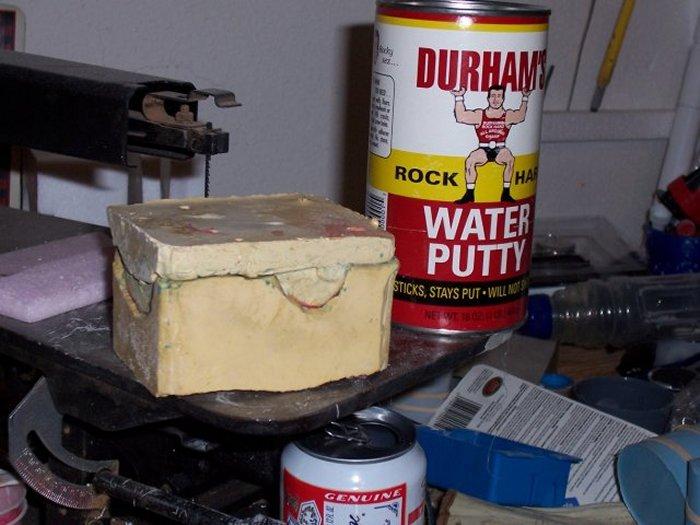
| Okay, so you say; Ilaf, I don't have the cash to spend on Silicon. But I want to give it a try. Well you are in luck. There are many other products you can use besides Silicon... Some people can do wonders with Bondo, you can use JB-Weld, or Magic Sculpt, or plaster of Paris, or even the RTV silicon you use on your car. I have found that this Durhams water putty is pretty cool stuff. BUT so far there is nothing that I have found that beats silicon. Even the two part rubber stuff from smooth-on can not compare. All of these products can make excellent molds for some parts. But most are either too hard to smooth, they are too thick, or they STICK to your part... I would really like to know of a cheap material that acted like silicon. Maybe someone will share if they have found something as good. |
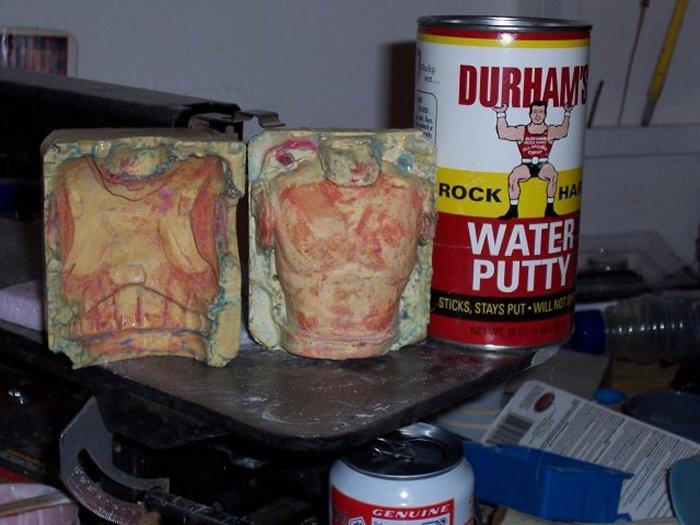
| Again with this mold... it was a breast plate that was formed on a SOTW figure... made out of RoseArt modeling clay. (some kid stuff I found at Target) Here you can see all kind of red material in the mold... this is leftovers from a botched resin attempt. It was too cold to be pouring resin and it did not setup correctly. It plugged the pour holes and partially adhered to the mold. THIS stuff would not stick in silicon!! I had lubed up this mold, but it still managed to stick. This is what I was talking about using alternate materials... expect to learn something new! |
|
Just like the mold... we will close this portion of the tutorial. Next time we will look at the cured first half of the molds. Maybe we might just pour a copy of the head, since it will be ready to use. Right now, we have no idea if the head mold is any good... there could be a huge air bubble under the chin...that would ruin the whole head mold. You want to try and pour your silicon at the lowest point in the mold, and let it fill up slowly. Tap the the mold after you have finished pouring to force air bubbles to the top. I did not do this on any of the molds you see here. The reason was that I had to mix 4 batches of silicon to fill all the molds. The silicon starts to thicken after about 20 minutes... it is not set, just thicker and does not let the air bubbles out.
So far out of the bottles of silicon you see here, I have made 5 head molds, I made a mold of some pistols... and now two half molds for the feet. I should just about have finished these bottles up. You never want to mix too much silicon... it cost too much to just waste. Always have more parts ready for the silicon, and then mix accordingly. It is safer to mix less than you need. Silicon will stick to itself, so you can pour some today, and then some later. It will stick as long as the first silicon piece is clean. So far, this is enough info to get started on making one piece molds.. or a head mold. Just ask if something is not very clear. Hopefully you can see there is no need for special tools... just the silicon and some clay. |
CLICK HERE FOR NEXT PAGE

Back to the Tips