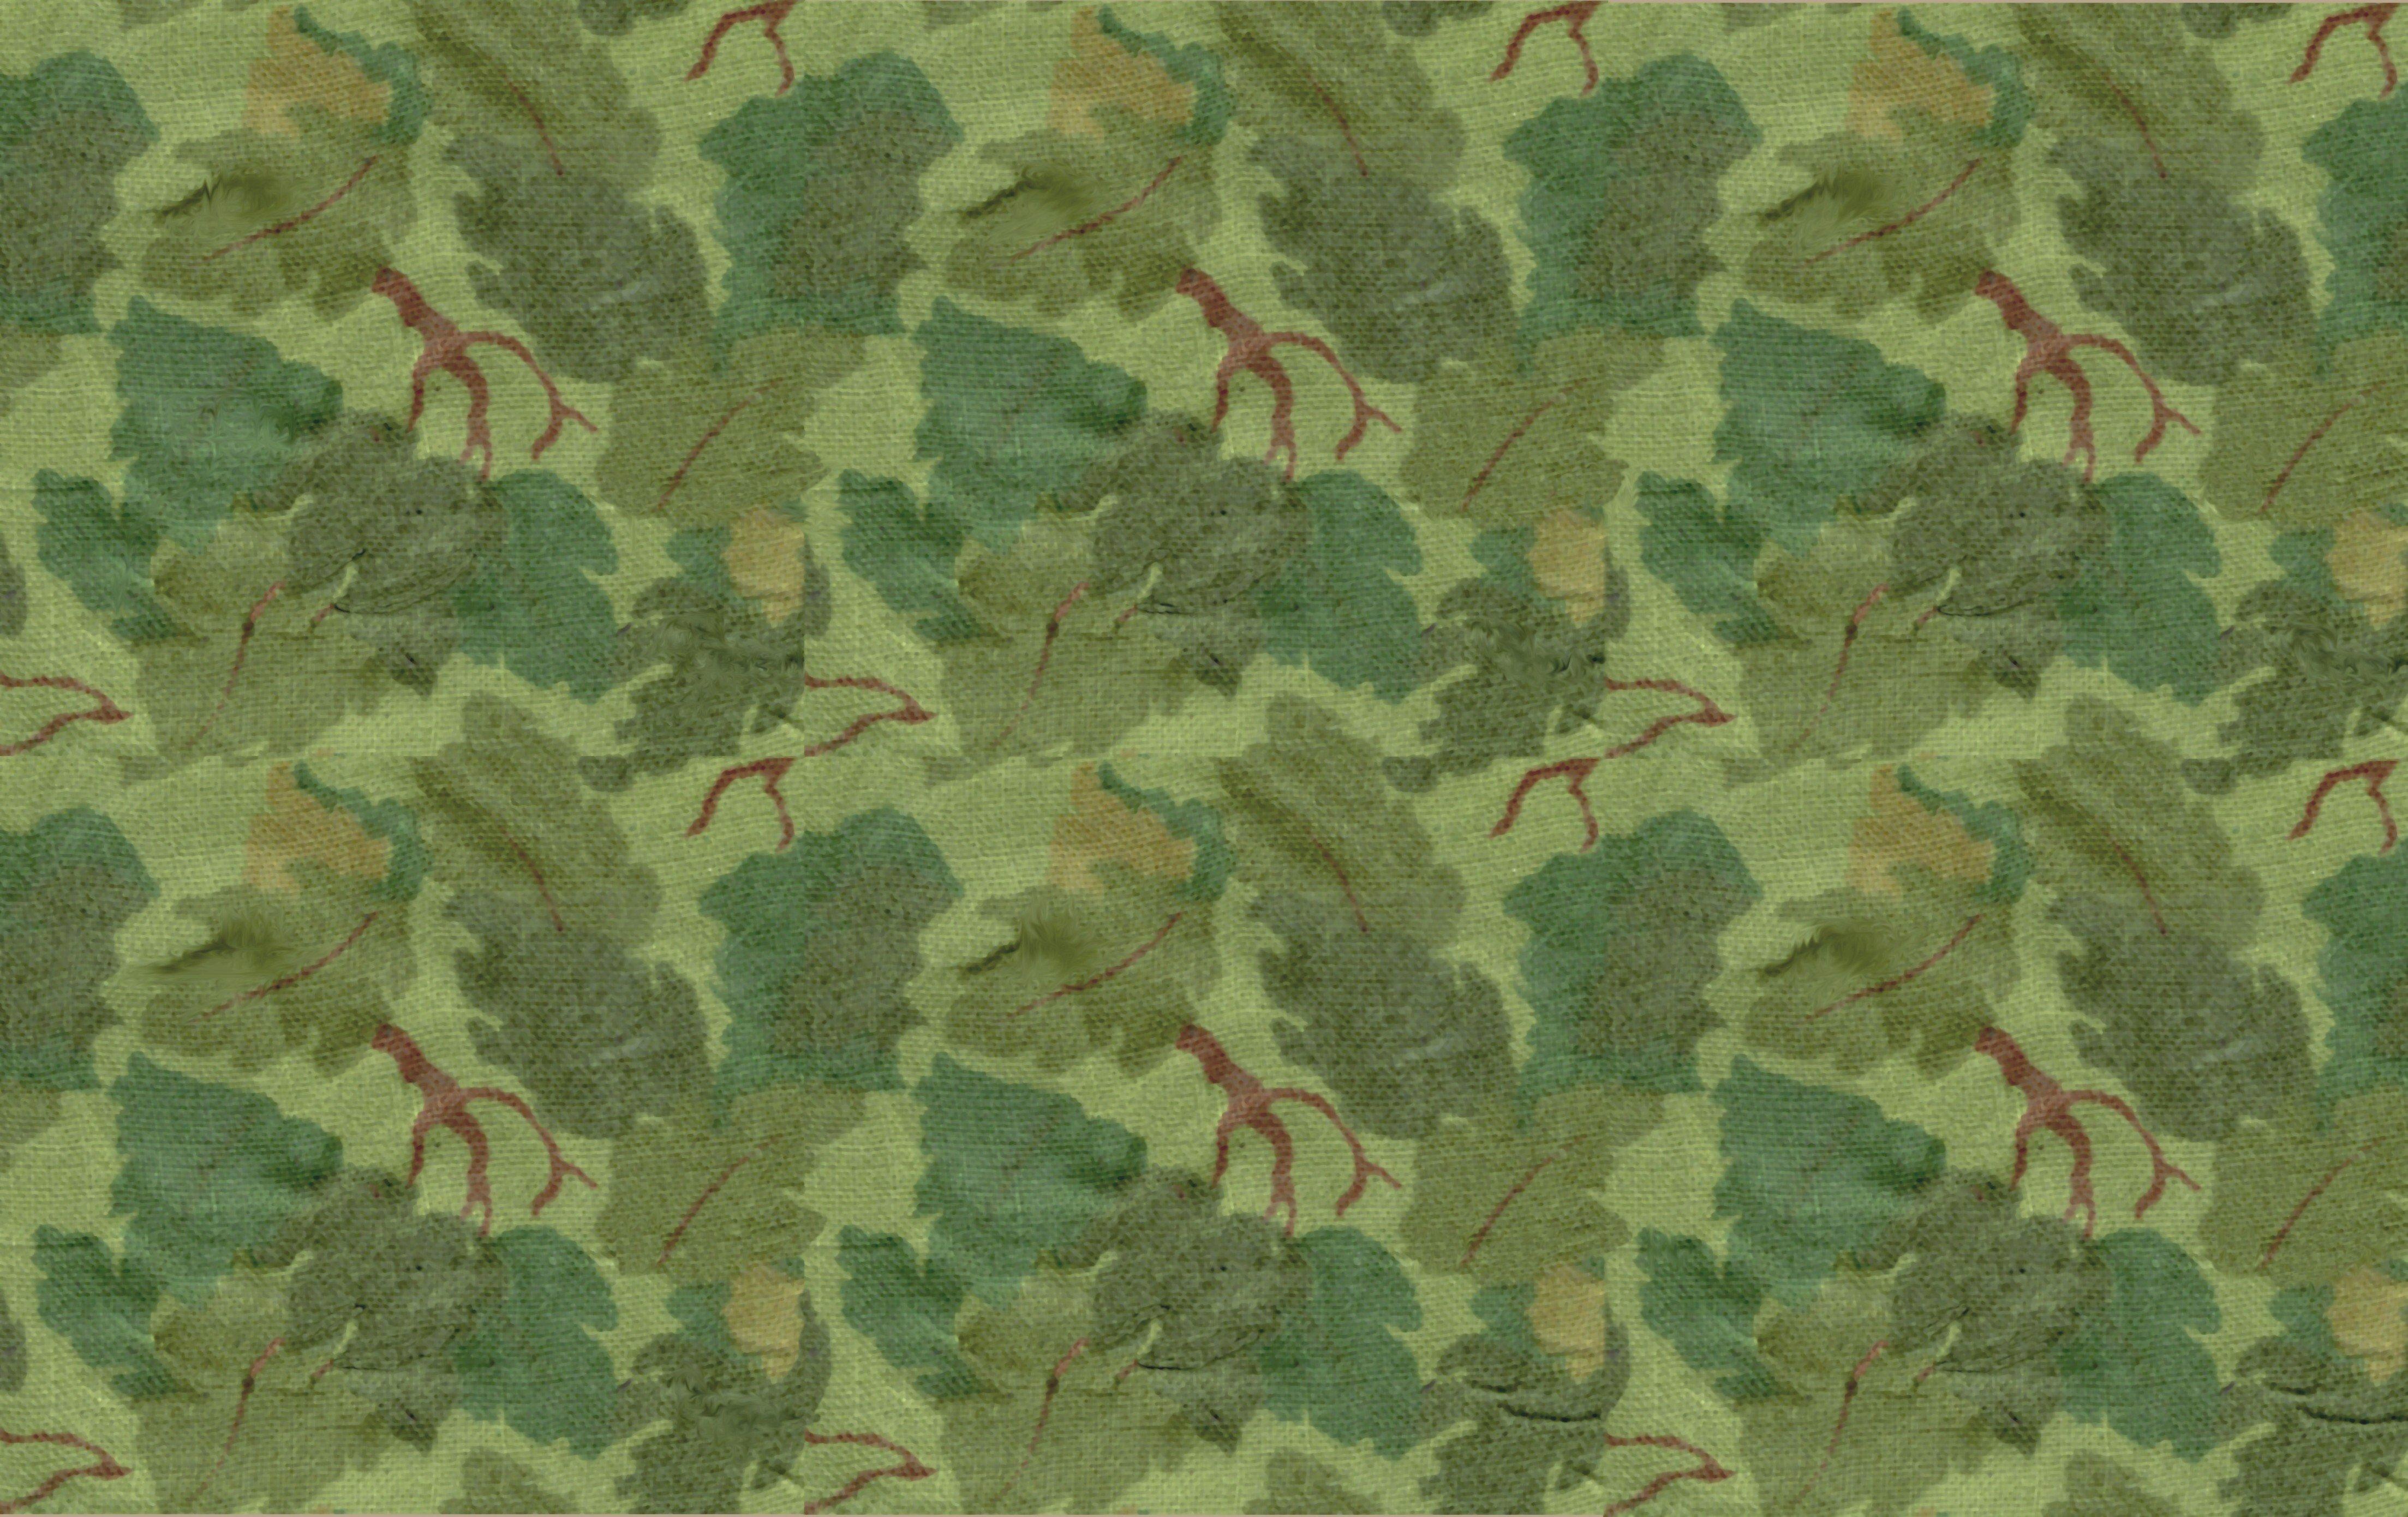
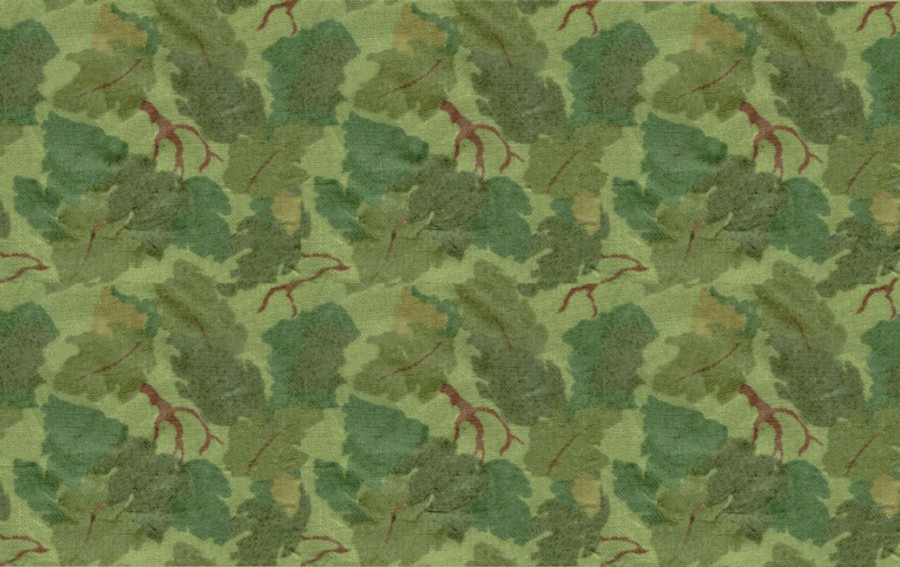
TIP FROM GREEN LEADER Ok, I'll start everything off. This tip is known by most of you customizers out there, but for all you people who don't know, here's a nice, little simple tip. Having a hard time getting those Vietnam pouches to stay on your Ultimate Soldier webgear? Well, just get yourself a tube of superglue and a pack of 1/8" black elastic (I prefer the 1/4" black elastic). Cut yourself a length of elastic as long as the pouch from the top to the bottom. Turn your pouch over, so you can see the back, just put a little bit of glue right above the metal hook along the top, and a little bit directly below that along the bottom of the pouch. Glue the elastic from the bottom to the top, so it covers the hook. Then you and just thread the belt up underneath the elastic. Now you will no longer have a problem with your pouches and canteens falling off your belt. That could be a problem right in the middle of a mission. TIPS FROM THUNDER IN VENEZUELA: 1) Pouches, Canteens: I did the same thing, but I used OD Green cloth which is better to use to customize your soldier. You have to cut a small piece of cloth (same length as the pouch and as wide as you decide.) Using superglue, just put a little bit on the top of the back side (where the metal hook is), and a little bit of glue at the bottom of the pouch. It works perfect. 2) Helmets: I have vintage G.I. Joes, and their heads are bigger than the Ultimate Soldier. What I did was to take a dremel tool (found at your local hardware store) and sand smoothly some plastic from the inside of the helmet (all around), until the helmet fits my Joe's head. You have to be careful because if you sand too much, you can make a hole in it. Fortunately, the helmet is thick enough so you can do this without problem. 3) Web Belts: Plastic buckle of belts (Vietnam era) are very fragile and will break easily. You can use a standard clip (paper clip), and small pliers. All you have to do is bend (more or less 6 bends) the clip until you get the same shape of the original buckle, then just replace the broken one with the new one. It works perfect for both sides of the buckle, it is stronger, and it looks like the real one. You can add more realism by painting it with black paint. 4) Boots: Boots fit perfect on Vintage Joes, but sometimes it is hard to take them off, and normally the foot comes out too. This problem is easy to solve, just squeeze a wood stick or another object (cylindrical is better) into the boot (width should be the same as the top of the boot). After that put the boot inside a mug or another recipient filled with hot water and let it sit for half an hour, then put the boot in cold water for a few minutes and that's it! The boot is ready and you can put on or take off the boot on your vintage Joe without any problem. Don't try to heat the boot directly with fire or in the microwave, if you do, you will lose your boots! TIPS FROM CAPTAIN FISHER You know how those black watch caps that come with the Ultimate Soldier figs. Tend to be kind of thick at the top where all of the stitching is? Well, I was at my brother's house the other day and picked up a pair of his little girl's gloves and noticed that they were pretty much the same material. So I went down to the local Wal-Mart, and found those kind of gloves to be only $.99 for two pair. If you cut off a finger then singe the edges of the cut over a candle to keep it from fraying, you have an instant scale sock hat for your troops. (the middle finger works best because it is the longest, obviously). You can also cut off a finger and then cut the tip off to make sort of a fabric tube, and stretch it over the figure's head and down around the neck to make it appear that he has a black commando sweater. Cool stuff, and only a buck too! I also got a pair of white ones, and made a white sock hat for my artic troop. Combine a sweater neck and make a ski mask out of a long finger, place it on a pair of fatigues you have dyed black, and you have a British SAS Commando! And you are still only out $.99! Have fun. TIPS FROM LT. Detailing the PRC-25: Handset-- Take a wire of suitable gage about 18 inches long, and another shorter piece about 6 inches. Begin coiling the longer wire around the shorter one, leaving an inch or so before the coils begin. Be sure to wrap it tight so you can't see the shorter wire underneath. Use the original handset as a guide for the length of the coils. Be sure to leave an inch of uncoiled wire at this end too before cutting off the excess. When you reach the desired length, carefully slide the coils of the short wire. Gently and evenly stretch them out a bit. Cut off the plastic wire form the original handset, and drill a hole for the new one using a pin vice or a hot needle (be careful). Insert the wire into the handset with a drop of super glue. If necessary, paint the wire black. Whip antenna -- Using a slightly larger gage wire than before, take a hammer and anvil and flatten part of the wire. You may need to try it a few times before you get it the way you want. Use the original as a guide for length. At the point where the flat part of the wire meets the round, begin coiling a second piece of wire leaving no space between coils. Continue the coils for about an inch. The rounded part of the wire that was flattened should be sticking out. You can insert that directly into the radio or insert it into a hole drilled into the section of the plastic antenna that is just below the coils. Again, paint the wire black. PRC-25 -- Replace the plastic hand grips with ones made from wire. Begin by slicing off the plastic grips and then drill holes for the wires. When a soldier is wearing the radio, the whip antenna can be (and often was) tucked under the loop on the suspenders, under the first aid pouch. Photo Reproductions -- I give my men money and cards for R&R by placing their life size counterparts on the scanner, and reducing it by 17% (16.666% is the more exact figure). Other ideas are letters, stationary, military insignias (which can be glued onto uniforms), photos and magazines. I unfolded a lifesize cigarette box, reproduced it, printed it on cardstock and then cut it out and folded it back into shape. You can also buy preprinted ration boxes, among other items, in 1/35 scale. To get those to be 1/6 scale, enlarge them by 583%. Weapons -- Drill out the muzzles of the weapons and make a better sight for the M-79 from wire. Misc. -- Use a fine tipped permanent marker to write "US" on all of the web gear and to add helmet graffiti. The US markings on the square first aid pouch, the ammo pouches and canteens are centered and just below the flaps. On the butt-pack US is centered on the flap part towards the bottom part of the flap. TIP FROM oo7 Here's how to make your boonie hat look more realistic. First take the hat and soak it in water just long enough for it to become fully moist. Then put it on your figure's head, crumple the brim so it looks a little more realistic than it did before and allow it to dry that way. You can also hold it in place a little better by spraying the top with a little hairspray. TIP FROM COBRA36 Chop the shotgun shells in half so you have 6 and 6. Paint a black stripe down the middle of the shells to represent elastic loops. Then glue a strip of velcro to the back so that the shells will stick to the SWAT vest. Now you have easy to reach shotgun shells for your SWAT team members. I suggest placing them side by side (parallel) vertically starting at the bottom of the vest. TIP FROM TREADHEAD I noticed many guys on the board asking for tips on making helmet netting for the British Paratrooper helmet. Here's how I do it: First I take a piece of cheesecloth then I paint it and put it over the helmet, glueing it to the interior of the helmet. Then I take small strips of cloth and tie them to the strands of the cheesecloth. Once complete, I shoot it with a spray of dullcoat laquer. Pretty simple. Click Here for a picture. TIP FROM DEPORTS I have been using these cable ties as 1/6 plastic flex cuffs. The package could be bought for a $1.60 at Radio Shack or another electronic store. I compared them to the ones that came with Blue Box SWAT figures and they are virtually identical. Click Here for a picture. TIP FROM DS Make your own custom Modern Y-Harness. Includes patterns and photos of the finished product. CLICK HERE TIP FROM DS Make your own custom 2 & 3 Pocket Back Packs. Includes patterns and photos of the finished product. CLICK HERE TIP FROM DS Make your own Custom PRC-25 Radio Harness Includes patterns and photos of the finished product. CLICK HERE TIP FROM WILDCARD How to make a Grass Helmet Cover for your German soldier. Includes photos of the project and the finished product. CLICK HERE TIP FROM BOOGERMEISTER Download a printable Vietnam era oak leaf camo helmet cover I don't know about you, but I have been rather disappointed in the availability of good U.S. Army helmet covers for troops in the vietnam war. I finally was able to make this. When this is printed on to transfer paper or on to the "printable fabric" that is available at most Wal Marts, and now some craft stores; it is enough to make a helmet cover for two helmets. What you need to do is print it up to fit a 4.5 inch by 7 inch area to get the scale right. If you like, and have a photo program, you can increase the brightness to give it a faded look. All you need to do for the cover is to cut out two U shaped pieces out that are about 2.25" wide and 2.5" tall. Place them face to face and sew them along the U shape. Turn them inside out, and viola! you have a new helmet cover for your Nam Guys! CLICK HERE FOR LARGE IMAGE (Right click and save as) CLICK HERE FOR SMALL IMAGE (Right click and save as) TIP FROM BC Ries How to modify TUS canteens for Imperial Japanese Army Troops CLICK HERE TIP FROM Rich Converting DML's Graham Para Helmet to Correct Version CLICK HERE TIP FROM Soldier B Make your own 1/6th Vietnam Army Field Manual CLICK HERE TIP FROM Rich Cloth Ammo. Pouch Filler Tip CLICK HERE |
Back to the Tips